Showing posts with label Halloween. Show all posts
Monday, November 2, 2015
I am NOT that mom.....
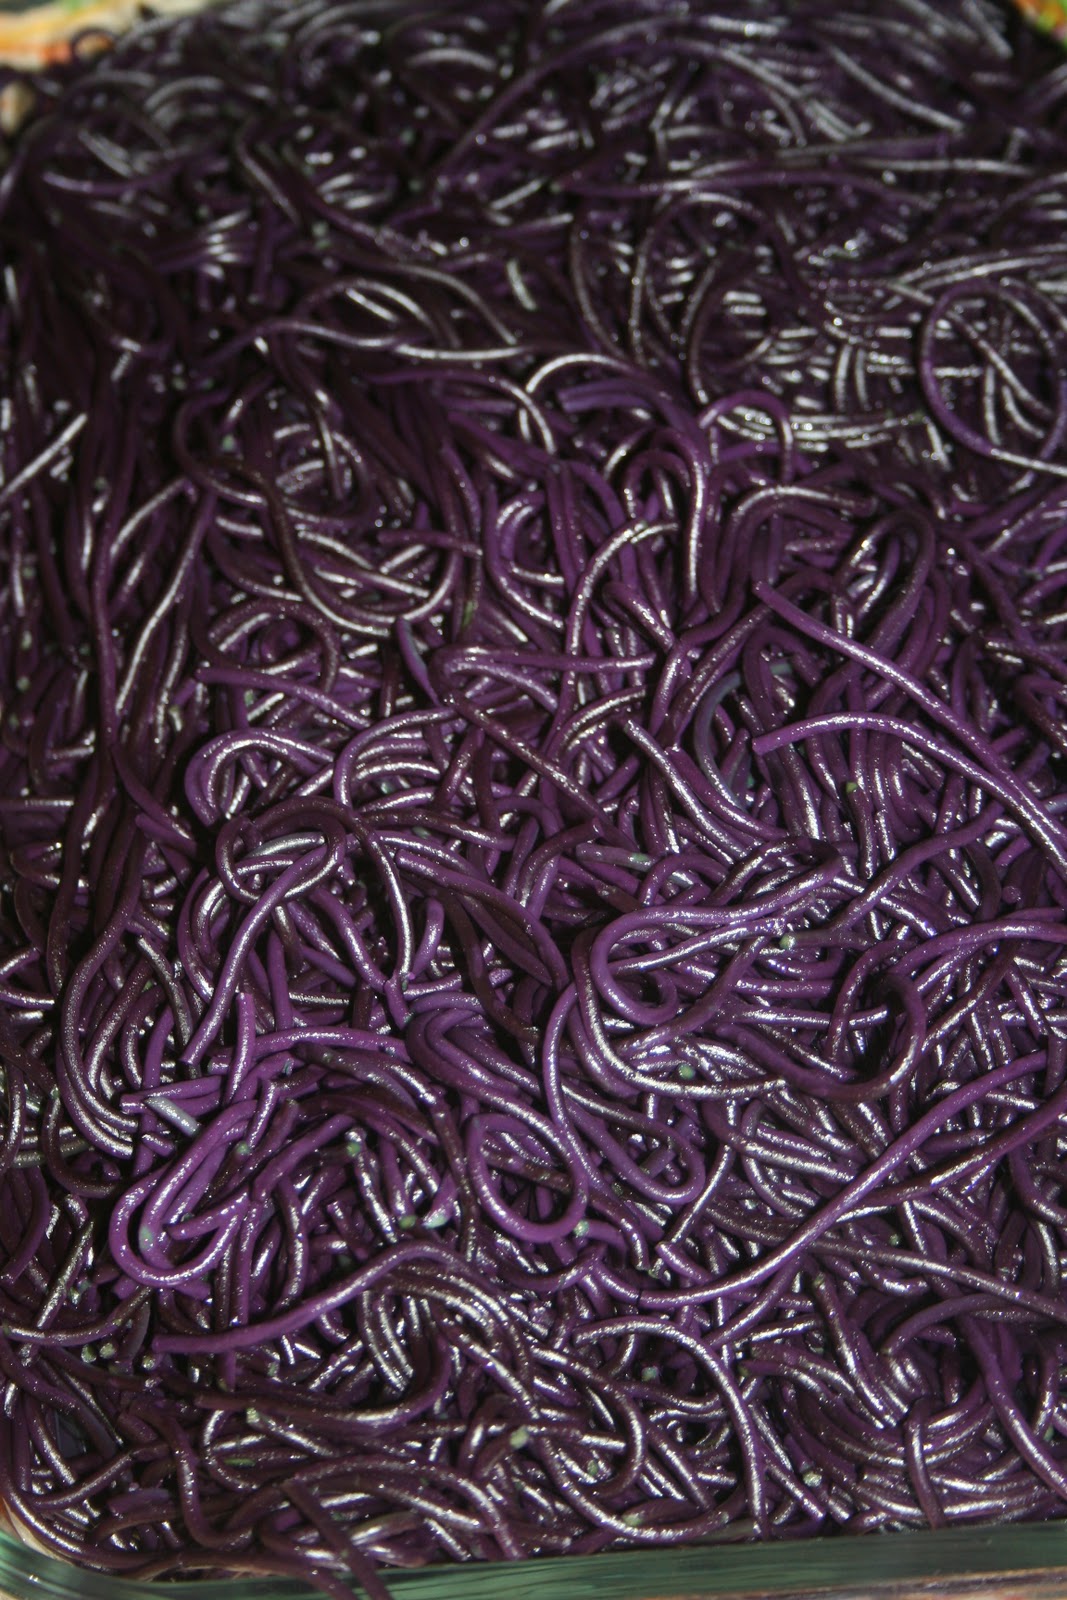
I am NOT that mom that gets excited about Halloween.You know, the one that starts thinking about next year's Halloween while still exhausted from the current one? The one that is willing to sew costumes no matter how crazy or difficult? Or the one that makes the traditional Halloween dinner of black worm spaghetti with blood sauce, mummy sausage, black cake, and has one of her best friends bring over a spooky salad year after year? The mom that uses her house as "home base", a meeting place for friends to start and end the Halloween night? The same place where kids will go through their loot, sort and engage in candy negotiation before heading home?
Yeah. That's not me, those are not my friends and that is not my house.
But, it used to to be.
*Sigh*
Last year at about this time I told my girls, "When and if we move to the Big Island, Halloween is going to be very different." After all, we lived in a neighborhood that was well-known for trick-or-treating. People from all over the island drove in just to spend a few hours walking around a single loop! We knew we had it good. Not just good but REALLY good.
Since that talk a year ago we did make that move. We live in the country now....and while we love living out in the"boonies" it is not a place to go trick-or-treating. What to do? Where to go? We had to figure things out before Halloween arrived.
For months prior I researched where was the best place to go. Even on Halloween morning I wasn't 100% positive how the night was going to play out. At the suggestion of many, we opted to go to the mall. At least we knew we weren't going to get rained on!
While the vibe was totally different from what we were used to, it went well. We timed it just right and was in and out of there in less than 20 minutes with their bags full of candy. The girls were happy but I definitely missed the lack of intimacy door-to-door trick or treating offered.
There was still light out and the kids wanted to do more. We headed to a haunted house ("Haunted Woods", to be exact). Unfortunately, I didn't pay attention to the hours of operation and we arrived too early. To kill some time we stopped in at a local school that was offering free activities and food for Halloween night. Momo had a good time playing a lot of the games and redeeming the tickets for a prize. Afterwards, we headed back to the Haunted Woods.
Parking was a hassle but we finally found a spot. Unfortunately, the kiddo that I thought would be scared wasn't, and the kiddo that I thought would be brave.....wasn't! Boy did they flip it on me! Daddy was nice and stayed behind with a scared, sobbing, and freaked out Momo. Kailani actually lead myself and Papa (my father) through the woods.
Was it scary? Yes. But not for reasons you may think. It was scary because it was dark, slippery and muddy. Definitely not the best situation to be in when you are recovering from a recent back injury! And of course I was wearing slippahs (flip flops). I was so afraid I was going to fall and injure my back even worse that I was grabbing for anything that would help keep me steady. Trees, Kailani......whichever was closer! I'm pretty sure Kailani thought I was grabbing her because I was scared. HA! Let her believe that. But I won't lie, I may have let out a little scream a couple of times when a ghost/goblin/zombie caught me by surprise.
In the end the girls had fun. It was a different kind of fun but fun nonetheless. The one major thing that was lacking from our night was time spent with friends. I know our friends felt it too as we exchanged text messages, status updates, and pictures throughout the night of our separate, solo adventures.
How I missed the traditions that we had created over the years! How I missed our friends!
And I will admit, I even missed being "that" mom.
Hope you had a fun Halloween!
A Hui Hou.....
Labels:
Big Island,
Halloween,
Hawaii,
Hilo,
puna,
trick-or-treat
Saturday, September 28, 2013
Halloween I-Spy Bottle
Happy Halloween!
Okay, okay! A little premature but I LOVE Halloween and I can't wait to get started! If you are planning on any DIY Halloween projects now is the time to start preparing!
About this time last year my "Dream Team" room moms and I were brainstorming some Halloween craft ideas to do with kindergarteners. Yes, I really did say "dream team" because we were! Room moms of the highest caliber. The Olympic gold medal winners of room moms! Rock star moms! (Yes, let me toot my horn! We worked hard!) All humbleness aside, Mrs. K, Mrs. M and I worked really well together. I believe a key component to our success was that all three of us have backgrounds in education and know how to create a lesson plan and carry it out. This was truly a plus!
Our first craft that we had to plan for was for Halloween. While there are so many fun and creative ideas out there we had to keep a few things in mind:
- the craft had to be completed in an hour;
- we were totally dependent on the kindergarten parents for donating the supplies and;
- the craft had to meet the common core standards (this particular one had to do with 3-dimensional shapes)
Initially I thought about having the kindergarteners make finger puppet ghosts (see the link here) but in the the end we decided to make Halloween I-Spy bottles!
While it wasn't my first time making I-Spy bottles with a group it was my first time making it with a group this large. We had to plan for approximately 75 kids! Each kindergarten class was responsible for collecting their own supplies and doing all the prep work before craft day. In case you are considering making these with a large group this is what we requested for each kindergarten class:
- 24 (16.9 oz.) empty water bottles WITH lids. Smooth bottles (with the least amount of ridges) works best.
- 20 lbs white rice
- Orange food coloring
- 5 x large plastic bowls to hold 5lbs rice (ex. large ice cream tubs or plastic witches’ cauldron)
- 24 quart Ziploc bags
- 24 (3oz or 5oz) paper or plastic “bathroom cups” (to pour rice into funnels)
- 8+ sets of 24 small trinkets
- Construction paper (to make paper funnels)
- Scotch tape (for paper funnels)
- Hot gun and glue sticks (to only be used by an adult)
- Permanent marker or(to put names on lids, mark bottles “do not fill past this line”)
- Wax paper or cookie sheet (to dry colored rice)
- Optional: camera, printer paper, laminating machine, ribbon, hole puncher, scissors (to make I-Spy tags)
- Paper towels, spray bottle/cleanser to wipe tables down; broom and dustpan; trash bag for clean up
- Paper towel/toilet paper roll to show the students that a water bottle is a 3 dimensional shape
The prep work before craft day consisted of: cleaning the bottles; removing the labels and any sticky residue; dyeing the rice; bagging the trinkets; making paper funnels; and making a sample of the craft to show the students on craft day. We also made made a laminated tag to attach to the bottle that had a list of items on one side a picture of the items on the other:
One of the cool trinkets we put into our bottles was a bean ghost:
Simply draw eyes on white beans! It is easy and inexpensive to do and the kids can draw the faces themselves! Thanks to "Chasing Cheerios" for the idea!
While it was a lot of work for a group this large the kids had a great time and absolutely loved it! As a matter of fact, at the end of the year I had one student tell me the I-Spy bottle was their most favorite craft ever!
Many thanks to my Dream Team! Mrs. K and Mrs. M!
For other Halloween craft ideas check out some things I have done in the past: spider lollipops, milk carton lights and spooky specimens jars! Or plan a Halloween feast with worm spaghetti and blood sauce! It has become an annual tradition that the kids look forward to every year!
Happy Crafting!
P.S. If you would like a sample of the lesson plan we created please let me know. I will be happy to email it to you! You can tweak it to fit your needs.
Labels:
craft,
elementary,
group craft,
Halloween,
I-Spy Bottle,
kindergarten,
lesson plan,
room mom
Tuesday, September 4, 2012
Halloween Finger Puppet Ghosts
Hellooooooo September!
I truly thought that with BOTH kids being in school it would free up a lot of my time, but not quite. I volunteered to be "room mom" for my daughter's kindergarten class only to be promoted to grade level mom. They have been keeping me busy!
As the grade level mom one of my responsibilities is to come up with crafts to do for the big "celebrations" throughout the year. This includes all three kindergarten classes, so approximately 65 or so kids. While our first celebration isn't until the end of October I thought I would get a head start and start brainstorming some ideas (thank goodness for Pinterest!)
Besides being fun there are some things that I have to consider when planning an activity. The craft must:
1) be age-appropriate and doable by kindergarteners;
2) be completed in an allotted amount of time (in this case, one hour);
3)be budget-friendly (doing the crafts via donations by the parents...either asking for supplies or cash) and;
5) meet the core standards for the kindergarten grade level. (The core standard for this particular art project is to create a 3-dimensional object.)
At the suggestion of a girlfriend (Thanks, Betsy!) my girls and I tried making some finger puppet ghosts. The end product turned out adorable! We showed our samples to Momo's teacher and she loved them as well! So I guess you can say this craft is mommy, teacher, and kid-approved! I am looking forward to sharing this with the rest of the kindergarteners in October!
Here are our little ghosts:
Important note! While the supply list shows "Plaster of Paris" you need to have plaster STRIPS/cloths/bandages. The packaging I bought looks like this:
There were other brands/sizes to choose from (please note, these are Hawaii prices - hopefully you can find the plaster cloths cheaper where you live!):
Hope this helps! Now go and make some little ghosts! :)
Monday, November 7, 2011
Parents' Magazine's DIY Halloween Costume Contest - I Need Your Vote!
After posting pictures of the lovebird costumes I made for Halloween my friend Yong encouraged me to enter Parents' Magazine's "DIY Halloween Costume Photo Contest." At first I was reluctant but then I figured, "why not?" Plus, Yong is the photographer and creative genius behind "True Colors Photography of Las Vegas". Who am I to not take her advice?
To my surprise I received an email today notifying me that my photo is currently in the running to become one of Parent Magazine's weekly Reader's Choice finalists! How cool is that? (Granted, for all I know EVERYONE that entered may be a finalist...but who cares! Ha!)
With your vote I could win an award certificate, which basically makes me feel better about spending all that time on the costumes. :)
Grand prize is $250 - but that is in the hands of the editor.
So if you're feeling generous, go ahead and vote for my costumes and my girls!
Here's the link:
Thanks!
Labels:
costume,
DIY,
Halloween,
lovebirds,
Parents Magazine,
photo contest,
wings
Saturday, October 29, 2011
Loving Lovebirds!
We have a few more Halloween functions to attend so the girls are definitely getting some use out of their costumes! (Thank goodness!)
Have a great weekend!
Friday, October 28, 2011
Halloween Preview
Just a few more days until Halloween! Fun, fun and more fun!
Here's what I've been up to......
Halloween Lanterns with Christmas Lights Inside |
My kids are going as Lovebirds this year. I don't have a picture of them together yet but will take one this weekend:
Labels:
costume,
Halloween,
lovebirds,
simple craft
Thursday, October 20, 2011
And the Winner of the Halloween Bunting is......
Number 12! "Smother Mother!"
Thanks to everyone for their interest!
Wednesday, October 12, 2011
Halloween Bunting Giveaway!
It's almost HALLOWEEN!!! So to get into the spirit of things (and to revamp my blog) I thought I'd host a giveaway!
This giveaway has to be a quickie, since Halloween is only 19 (EEK!) days away!
Here is what the winner will get:
A reversible Halloween bunting (banner, pennant) made with fabrics from Riley Blake's Halloween line. It is double sided so you can hang it across the room and both sides will show! Reuse it year after year!
Here are the fabrics:
I am going to make it easy to enter (with additional chances to win for those that want more chances!)
Here's how to enter:
Mandatory entry: Leave a comment!(Please make sure to include your email address so I can contact you if you are the winner!)
That's it! That's all you have to do! But if you want more chances to win here are some options. Each will get you another entry!
*Follow my blog via Google Friend Connect or Networked blogs. Be sure to comment to tell me that you do!
*"Like" me on Facebook (Happy Hapa). If you already do, THANK YOU! Leave a comment telling me so!
Giveaway will run for one week starting today - winner will be chosen via Random.org at midnight, Hawaii time on Wednesday, October 19th and announced here on my blog as well as sent an email notification. Winner has 48 hours to respond with their mailing address - if not a new winner will be chosen.
Open to U.S. and Canada residents.
Can't wait and want one now? I have one listed in my Etsy shop!
Happy early Halloween!
Monday, November 1, 2010
Happy Halloween!
Hope you had a spooktacular Halloween!
The days prior to Halloween were busy! I finished the spider Tootsie Pops in time for Kailani's class:
Took a bit longer to make this year as I had to make over 30!
Fun with Friends at School |
Kailani's school also had a Halloween night with a magic show and pumpking carving at NO COST! They provided the pumpkins and kits - all we had to do was sign up and show up! I couldn't believe it was free, especially after seeing the pumpkins. They were big and beautiful! (Thanks so much to the PTA!)
They even let sibling participate! |
And then for the big day! I wanted to make a fun Halloween dinner for the kids and their friends. So I made some black ("worm") spaghetti with "blood" sauce:
The black spaghetti was super easy to make. Just add some of Wilton's black icing color to the boiling pasta! And not to worry - the dye won't stain your teeth!
We also had some braided mummy sausage bread:
The mummy bread was DEEEEELISH. Everyone (well, the adults) loved it! I should've made two of them! Here's the recipe. It's definitely a keeper! For the eyes I added and baked two of the eyeballs......
Cheesy Eyeballs (olive cheese bread) |
Finally the moment arrived. Time to trick-or-treat!
We weren't sure where we wanted to trick-or-treat this year. We were told by several places to stick to our own neighborhood as a lot of people go ALL OUT in celebration. So we did. And boy are we glad that we did!
Apparently every year a team of doctors puts on a show for the trick-or-treaters. Our timing was perfect as we arrived just as the show was about to begin. I had no idea that Kailani and Momo and their friends were going to be part of the show!
They asked for volunteers to participate in the play. Of course Momo volunteered. |
They taught her how to "pump it" low..... |
And how "pump it" high.... |
They needed a few more volunteers so Kailani and friends stepped in... |
The show has started! See the "Dancing Doctors" performing while the girls pump them up! |
Tired kids.....ready to go through their stash! |
For more holiday, craft, and party ideas be sure to check out Tip Junkie!
Wednesday, October 27, 2010
Glow-in-the-Dark Circle Skirts
I finally made the circle skirts with the glow-in-the-dark fabrics that I recently bought (which REALLY DO glow-in-the-dark!):
I went ahead and made all three skirts the same size as my girls pretty much wear the same clothes (WOW, I know!) One is just taller than the other! I also put my "Happy Hapa" labels on them which confused Kailani as she knew I made the skirts for her and her sister. "So why put labels on them?" Well, just because...(because Dana did it over at "Made" and since she is a crafting rockstar I am going to do the same. That's why.)
And they TWIRL! Boy do they twirl!

Awhile back I saw similar skirts being sold in the stores for much more than I was willing to pay. I studied the skirts and made a mental note on how I thought it was to be done. Coincidentally a little while later Dana over at "MADE" did a whole blog post about circle skirts and provided a FREE tutorial! YES! YES and more YES! (And no, no, and more no....I wouldn't have figured out the whole mathematic equation. No way!)
I went ahead and made all three skirts the same size as my girls pretty much wear the same clothes (WOW, I know!) One is just taller than the other! I also put my "Happy Hapa" labels on them which confused Kailani as she knew I made the skirts for her and her sister. "So why put labels on them?" Well, just because...(because Dana did it over at "Made" and since she is a crafting rockstar I am going to do the same. That's why.)
And they TWIRL! Boy do they twirl!
And they get you into the "CREEEEEEEEPY spirit for Halloween!
Thanks to Dana for an awesome, FREE tutorial!
Labels:
fabric,
free tutorial,
glow in the dark,
Halloween,
Made,
skirts,
twirly skirt
Monday, October 25, 2010
Halloween - Spooky Specimen Jars!
Time to get ready for Halloween!
Believe it or not, I am NOT making costumes this year! Lucky for me my father bought the girls their Halloween costumes. A bumblebee and a ladybug. I told my husband he could be a flower (NOT going to happen) and I would be an exterminator. HA!
Anyways! I had been saving some glass jars for a project that never happened (mad scientest party turned Pokemon party) and decided to put them to use. Spooky specimen jars for Halloween!
With Halloween less than a week away I need to make something with them soon! My plan (keyword - "plan") is to use the FREE circle skirt tutorial over at "MADE." Can't wait to try it out especially since I was eyeballing similar skirts in the stores (and refuse to pay that much for them!)
*eyeballing - I swear...it was purely a coincidence that I used that word! HA!
Believe it or not, I am NOT making costumes this year! Lucky for me my father bought the girls their Halloween costumes. A bumblebee and a ladybug. I told my husband he could be a flower (NOT going to happen) and I would be an exterminator. HA!
Anyways! I had been saving some glass jars for a project that never happened (mad scientest party turned Pokemon party) and decided to put them to use. Spooky specimen jars for Halloween!
Top row - spiders, giant flies, mice
Bottom row - cockroaches, skull, eyeballs, giant spider, snakes
As you can see some of the jars came out better than others! The cockroaches (first jar on the left) started out GREAT - they were floating around in the jars at different depths but then they all kind of clumped together and sunk. The giant flies and mice did the opposite - instead of sinking they floated to the top. I spent a great deal of time (WAY too much time!) trying to troubleshoot and figure out how to fix the problem. In the end I just gave up. Seriously, my kids aren't gonna care. If anything they'll shake the jars to see the critters better!
And while I think the Halloween fabric and ribbons on the the lids are a little too cutesy my kids insisted. And since this little project is really for them I had to oblige. :)
Here's a close up some of the jars:
Spiders, skull & eyeballs!
Cockroaches & giant flies - BOMB!
It's hard to see the spider in the first jar but it is AWESOME!
Spider, snakes & mice!
I would've loved to have found some fake body parts - fingers, toes, ear, etc. as well as a frog, brain, giant cockroach (I know I've seen them somewhere!) worms, and whatever else!
Wanna know how I did it? I found an easy tutorial over at Mom Moments. Her jars turned out so colorful! But I have to tell you, nothing helped me make the critters float better except for cramming them in the smallest jar possible. I also tried adding cooking oil (as suggested) to get a cooler effect and that bombed. I also found that the clear liquid hand soap (Softsoap brand) worked better than shampoo....that's what I'll use next time.
By the way.....fabric lovers....did you notice the green fabric in the background? Well...I'll tell you this now so you can go out and find some before Halloween has come and gone.....the fabric is GLOW-IN-THE-DARK! My kids tested it out and their response was, "SOOOOOO COOOOOOL!" I actually got three different glow-in-the-dark fabrics:
With Halloween less than a week away I need to make something with them soon! My plan (keyword - "plan") is to use the FREE circle skirt tutorial over at "MADE." Can't wait to try it out especially since I was eyeballing similar skirts in the stores (and refuse to pay that much for them!)
*eyeballing - I swear...it was purely a coincidence that I used that word! HA!
Last year's lollipops....gotta make a bunch more this year!
Subscribe to:
Posts (Atom)